Thursday, April 28, 2011

Garden Plugs.

"Stupid Should Hurt"
-Armstrong & Getty

Hey Everybody! I'm here to inform you all of how to install plants into your garden by showing you how I did it!
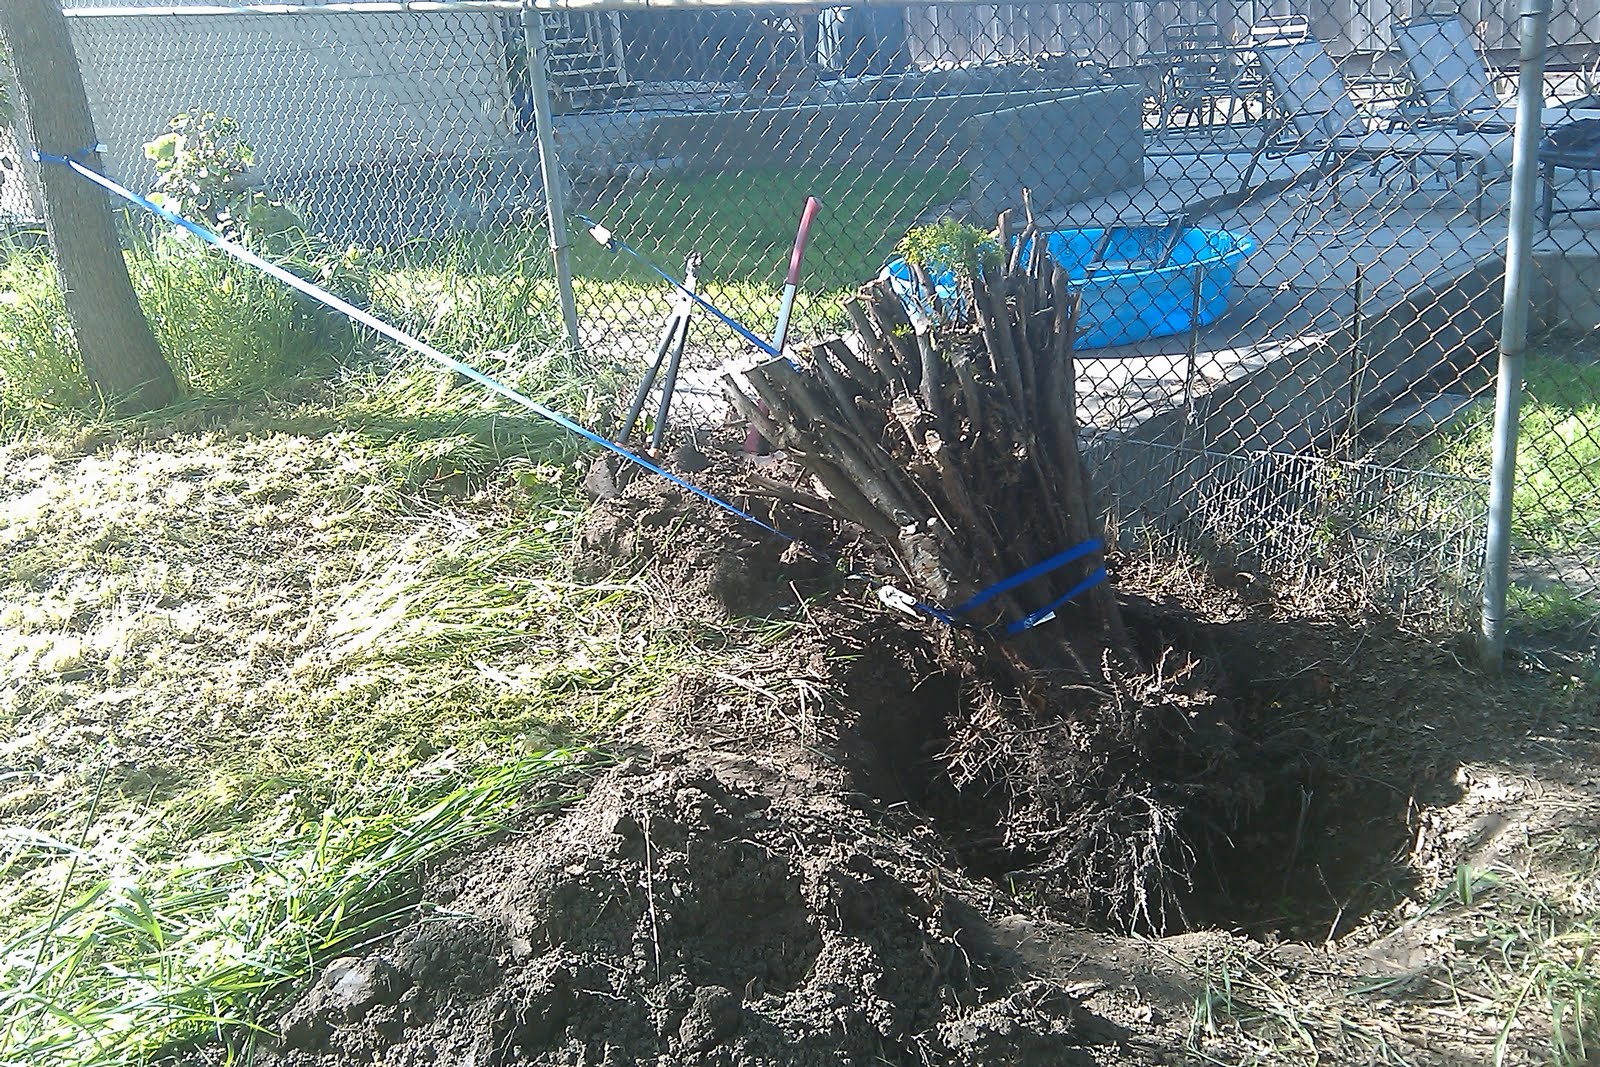
First. you must have a garden preped and ready to go. I showed you how I prepared mine here Humble Begginings
This thing is rare and ready to go!
 you must choose your plants wisely. My choices were probably a little over reaching. However As long as I keep the plants trimmed and set to a correct standard all should work out well! I chose 4 tomatoes( 1 Early Girl , 1 Better Boy, 1 Sun Gold Hybrid tomatoe, and 1 Roma.) Variation is fun. makes for a wider range of things you can cook! I also got 1 Green and an orange bell pepper, 1 Jalepeno pepper, 1 watermelon, 1 canalope, and herbs (basil, chives, parsley, cilantro, and some tyme)

This is how I plant my potted plants. This process is rather simple, but pictures help. ALSO, im using a larg pot for better picture quality. but the process is the same.

Start by placing your plant where you want it. Dig a hole roughly 1.5X the size of the plant to be place there.
At the bottom of the hole place app 2 TBS fertilizer and mix into the dirt as to aid in break down and release of nutrients. Then cover with small layer of regular dirt as to keep roots from touching it directly to avoid root burn. I use two fertilizers. The General veggie and Herb Fertilzier at the bottom, then I add a second layer of starter fertilzer in a smaller quantity with a layer of dirt for protection. 
Next remove your plant from the pot, and untangle the bound roots if need be. when the plant has sat in the pot too long its roots start wrapping around themselves and can not extend into the surrounding soil as easily. freeing them will help your crops prosper.


Next place your plant in your fertilized hole and fill in with dirt. Being careful to not cover the plant with dirt beyond where the original top layer of dirt was when it was in its last pot.
compress the soil lightly and water throughly. you want to get the whole surrounding area very very wet right after planting. this will loosen the dirt, begin the decay process of your added fertilizer, and will help the plant deal with the shock of being moved!
Now proform this process however times you need to till all your plants are safely in the ground!


Once you have placed all your plants into the ground set up your watering system, and water throughly. Then step back and look at your tiny plants and just wonder how big they will get.
In my next blog I will be disscussing how to get the most out of your tomatoes by using cages. as you can see I only have plants in dirt, with out any paveing stones or cages. Still a work in progress. but thats why you keep comming back, right? HAHA!

Thx for the reads Yall!

Thursday, April 21, 2011

Testing out HTML

and now for an update on my water bound seed!
For those of you who have been following along. I have put a seed in water! an Avocado seed that it. its in a half a soda can sitting on the window sill.
For the past week and a half small changes have been happening. I will take note of those now.
If you care to see how I set this whole thing up click below.
Avocado seed 1

Sunday, April 17, 2011

The Humble Beginnings

"The snozberries taste like snozberries."
- Willy Wonka (Charlie and The Chocolate Factory)


So, some of you have been wondering when I was going to ACTUALLY do something to the ground i speak of. Well here is proof that I actually am a real person, and I plan on forcing the earth to do my bidding and grow me some tasty foods!  This is where we started Saturday

My sister I must credit for pulling most of the weeds out of the ground. She threw them to one side of the planter box and allowed myself and my brother in law to really lay down the law on those pesky weeds! We started with a mostly cleared space, and had just a few weeds to pull. and after we spent some time moving the peach tree i got them and all the other stuff we could get a good grip on things!


We raked all the Jank into one corner. then used the big fat red rake there like a shovel and shoved it all in the yard waste bin. We filled that thing to the brim! Sure it was not all from the garden, but a good 20 lbs of weeds wound up in there!
Now If I had my Druthers I would have picked a much better Rake!


Next once it was all cleared and ready to be amended we set everything out. Does it not look much better?


Because I'm a little short on funds and time, the only things I had to spread into the dirt was from last year.
Inventory check: 1 Bag Steer Manure , 1 LARGE Bag of Alfalfa Pellets. oh, and I also had a half bag of potting soil that was sitting around so I added that too. This coming weekend I am going to get the fertilizer I need and probably will be planting.

The Rototiller you see in use was my grandfathers. He does not use it anymore , and because I till his soil with a shovel it was just fine of him to bequeath it to my sister. Now with this mighty tool we are able to till in all the great soil boosters. As you can see I tried to evenly spread the pellets around. Then the rototiller uses its two circular clawed spinning metal wheels and whirls the first foot of dirt into a frenzy . The now aerated and mixed soil is soft and ready for a young plants roots to take hold!


After all the hard work, and a couple hours, we got the whole of the garden ready to plant. All that's left now is to add the actual fertilizer to the bed, and plant. In the mean time it's good to let the soil rest and to water it a couple time this week to aid in the breakdown of the alfalfa pellets. I declare this Weekend to be a great success!


 Other things of note that my brother in law and I did were uproot the 30+ year old rose bushes that were a tad past their prime. and the most difficult of things we did was remove the old juniper bush that resided in the back of their yard. That thing even when shaved down to only a couple feet tall must have weighed around 300 lbs!


We dug up around the roots and had to sever the larger of the roots to free the root ball. we wound up using a simple machine, a log and two by four to lever it out of its hole. That thing weighed a ton, but made us very happy to be rid of it! One Problem we did run into was our shovels were cracking under the stress we were putting them under. A much better shovel like this one would have helped!


Thx all for reading! and tune in next time to see what else will happen in the great world of gardening!

Thursday, April 14, 2011

Sad news bros!

That's what he talked about yesterday, "I want to drill here. I want to drill now." I don't know where he was standing. I think he was in a building somewhere.
Barack Obama
(HAHA, quote just to have fun.)

Those who have been following me know about my fancy little baby, my navel orange tree!
  Well The new growth is coming in, and its budding! this makes me very happy because it means its alive and doing well enough to preform normal body functions.

And here she is. living in the rather large pot and leaning on her stick!
As time has gone by I have added Dr. Earth's Fertilizer for citrus trees, and on occasion added some eggs shells and twice I have added coffee grounds directly to the soil.


But as things tend to go, my tree has developed a problem. It is due to something I have done. Not being 100% sure what it was that I did to make my tree suffer, I am sad.
Now, as you can see this leaf does not look normal , in fact it looks weird even cool. This leaf is veiny and yellowish green. This appearance is often due to a lack of Iron, or if your soil has the iron then it could be due to too high of a soil PH. THEN it could be any other number of things that I know nothing about. This is where you come in. WHATS WRONG WITH MY TREE!!?!??! lol.


Let's make a list of things that I think might be wrong, just to recap.
1:Low Iron Content in soil
2:Soil PH is too high, thus making iron inaccessible

and I'm out of ideas. Now get out there and fix my tree!


OH! and As of Friday I will officially start working the ground at my sisters place. thus making it ready to plant. I will go into some detail as to how I am going to till and amend the soil. So tune in next time and as always KFTC

Monday, April 11, 2011

When I think about it...

Q:Where did all the carny folk go now that carnivals are mostly self automated?
A: They now run your recycling centers.

One of my favorite fruits is the Avocado. It's so good! My Favorite has to be the brand Haas. They are so creamy in guacamole, and sweet too boot! Love putting it on my sandwiches. Just slice it up, and make a B.A.T. (Bacon,avocado,tomato) sandwich, or eating it raw on it's own, or as I did today, with some eggs and bacon! I do love these so much that I think ill try growing a tree from seed!
This is how I will go about doing it.
First You'll need your stuff, an avocado and a tin can!

Not my favorite brand but still good.
  You will also need some toothpicks!


Now this process is rather simple, but it does involve cutting a soda can, and can be dangerous to your fingers. Be careful to not slice your hand open while doing what I will be showing you how to do!


First you start by making an incision into the mouth piece of the can with your scissors. Go straight down and try to get as close to the middle of the can as you are able. It's really up to you how tall you make your can, but I like it half size. 
The Commet in the back of the picture has nothing to do with it. So, just disregard that. Haha.

It will probably be tough getting the cut started, but if you just muscle it you'll get it!
Then like I said, cut down to you desired height for you water vessel to be. If its taller it will hold more water, however it will also be more top heavy and if you make it taller. The downside to making it short is it's water supply will evaporate much faster.

Once you've reached your desired height start your horizontal incision.
Finish your cutting and you wind up with!!!!!!!!

You start by cutting the egg shaped fruit the long way along the middle. Cut around the seed in the middle till you have sliced the whole of the fruit in half,   


Once in half you grab the side with the seed in it and whack the knife into the seed to embed it deep enough to be able to twist the knife to loose the seed and extract it!

The once you have removed your seed grasp it with a towel and remove it from said knife.
Now fill your soda can half with water, insert your toothpicks into the seed in a triangle shape, and place in your makeshift water vessel.

Monday, April 4, 2011

I Feel Happy!

 DENNIS:  Listen -- strange women lying in ponds distributing swords
      is no basis for a system of government.  Supreme executive power
      derives from a mandate from the masses, not from some farcical
      aquatic ceremony.
-Monty Python

I have decided the weather is nice enough to start buggering the soil a little. I'm going to add some plant food, alfalfa, and starter plant food. I will then till the soil, turning it with a shovel to thoroughly mix in the new ingredients, and then water it until just past damp.

What I will need!
Fertilizer. My personal Favorite is Dr. Earth brand. I like this brand because your not buying a bag of chemicals that could kill your dog/cat/baby. Also, it's very tough to burn your plants using this. If you follow the directions there is no chance of burn, then if you double the directed amount you probably still wont burn. I love it! Also you can throw the stuff with your bare hands and be 100% fine. The fertilizer is really just a blend of fine ground organic materials like fish meal, alfalfa,feather meal, kelp meal and other natural stuff that breaks down in your soil.
These Fertilizers have just the right amount of NPK (Nitrogen N Phosphorus P and Potassium K) your plants Bread and butter... and jelly? well anyway, it's the main thing your plant uses as food. Then there are loads of other micronutrients you need to make the plants happy!


I start with the "starter fertilizer". you mix it in to the soil when preparing the two weeks before you start planting. Also, i mix it into the holes where you stick your plants. as a good pocket of nutrients for the plant to eat as it gets settled. I start with the "starter fertilizer". you mix it in to the soil when preparing the two weeks before you start planting. Also, i mix it into the holes where you stick your plants. as a good pocket of nutrients for the plant to eat as it gets settled.


I will also add a vast amount of Alfalfa pellets. These are basically horse or rabbit food. I have found that when i add this to the soil i get three times the amount of worms in my soil. You want worms, they are the tunnelers and the best fertilizer makers around!


Then as the season goes on i switch over to the general veggie fertilizer.
This will be the main source of fertilizer I will be using to keep my plants happy.

 And as the plants start producing fruits and blooms, or even start budding, ill add a good layer of this to boost performance!!!

For those of you who have been following my blog, you know i have a Orange tree. It;s still very young, about 3 years old and its getting it's first blooms this year. I will have to pinch most of those back, but still, I'm excited!
Here She is! my wonderful Orange tree! Dwarf Navel.